First remove the 12 screws that hold on the D panel.
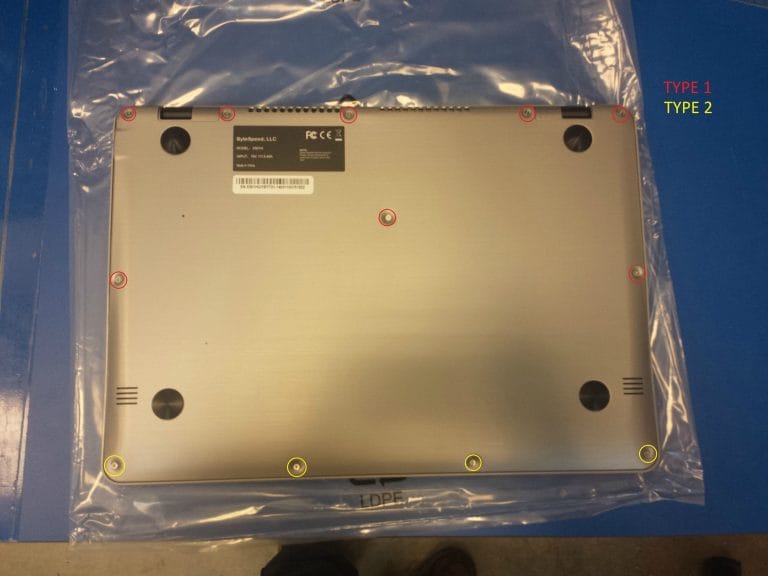
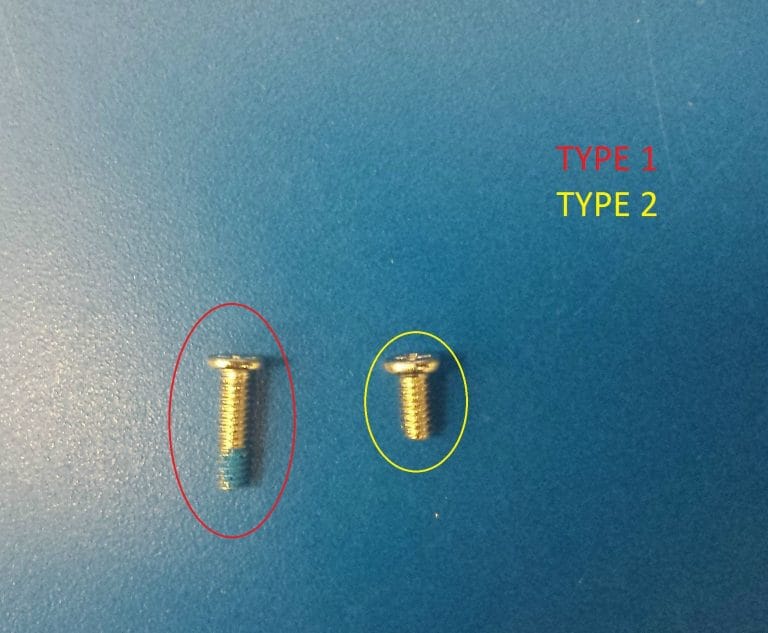
Here are the two different screws that are on the D panel:
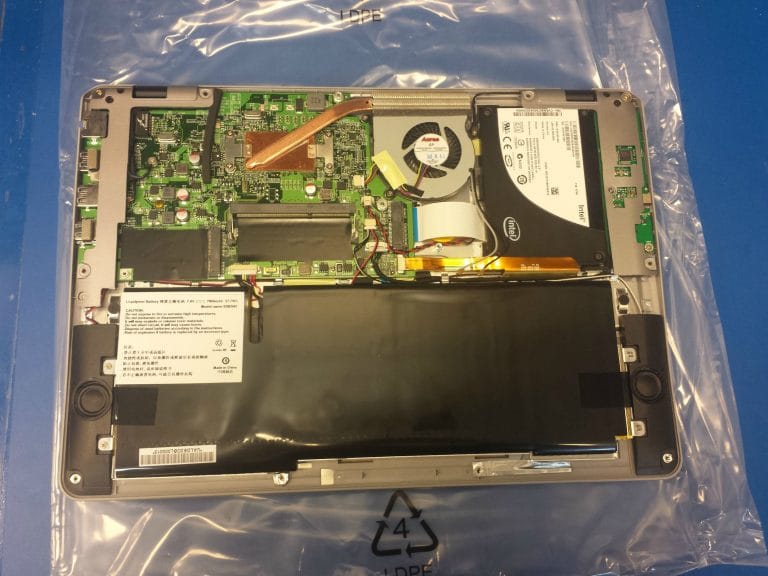
After the screws are out the panel should just lift off. This should give you access to the HDD, RAM, and battery.
After you have taken apart the bottom assembly, there are 4 screws that need to be removed. You’ll find the locations here:
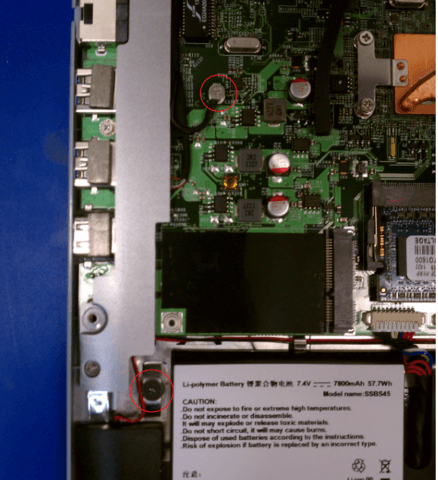
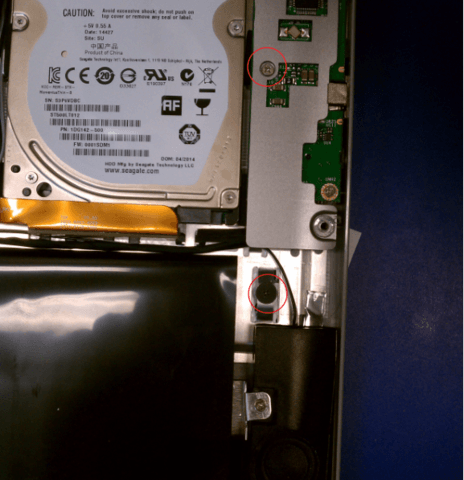
Once these screws have been removed. Please remove your hard drive. If you flip your laptop over, you risk the hard drive being hit on the surface you’re located on.
Flip the laptop over and open the screen. Please utilize the small pry tool and dislodge the keyboard on the upper left corner of it. It will take a little bit of force as it is held down by double sided tape. Just make sure you are under the keyboard and not the grey plastic piece that is lodged between the keys. It will come off the keyboard and be difficult to replace. Once you have worked one corner off, please continue down the line. It will get increasingly easier as you’ll have more leverage.
After the keyboard is loose, flip the keyboard around vertically as shown in the following picture.
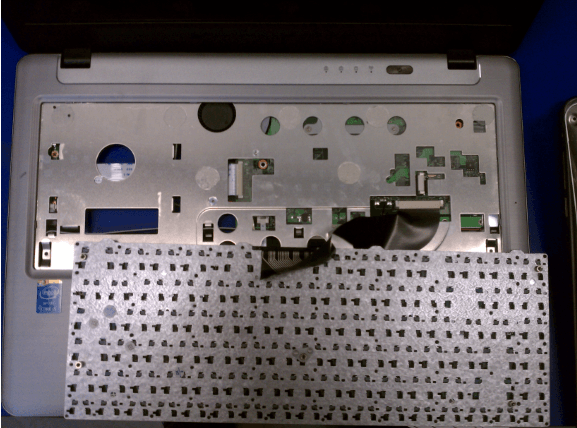
Replace the new keyboard and lock both sides of the mechanism in.
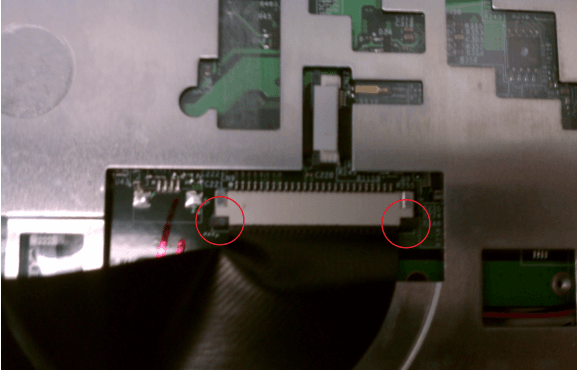
When placing a new keyboard in, make sure the ribbon is secure within the locking mechanism by gently pulling on the cable to make sure it is secure. I even find it’s best to turn on the machine and get into the BIOS by pressing F2 on the keyboard prior to pressing the keyboard back into place entirely.
Once you’re satisfied, make sure the bottom of the keyboard gets in place with the bottom of the C-Panel. Press the keyboard under the tabs on the top with the small pry tool.
The double sided tape also helps keep it in place.
I’ve included my high-res photos as a precaution:
