
All In One (AIO) 770 How-to Add or Remove Optical drives
Most importantly, if you have any questions or concerns, contact us at helpdesk@bytespeed.com or call at 888-658-0715.
What you’ll need:
#2 Philips screwdriver
Non-scratch pad
Amount and size of screws you’ll be removing:
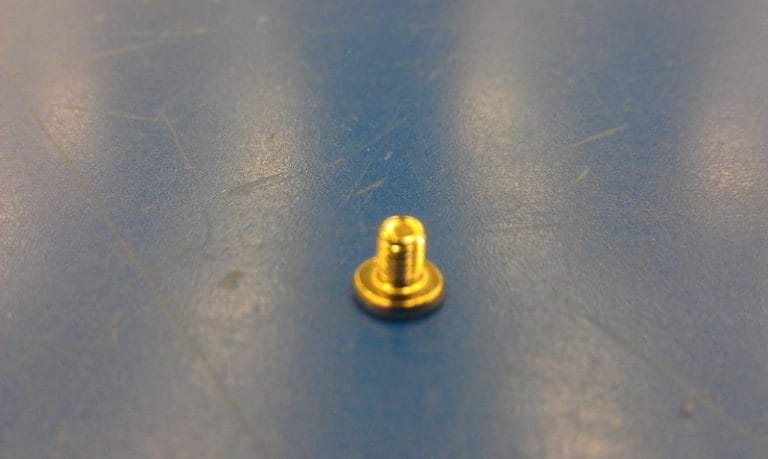
2- 1/2″ Black Philips screws
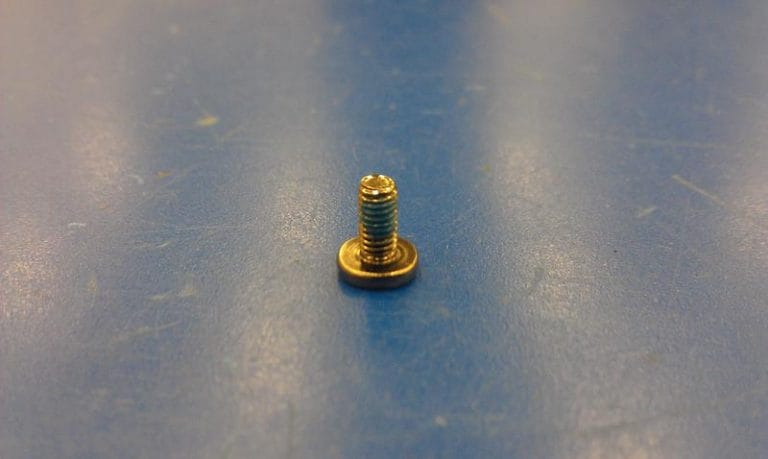
6- 1/4″ Silver Philips screws
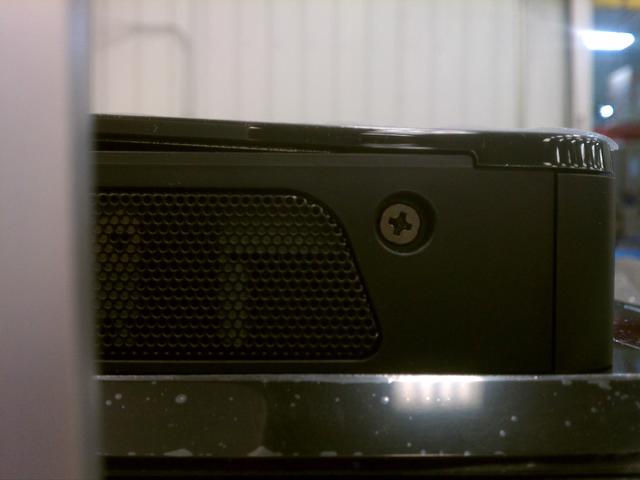
First, lay the AIO on it’s LCD screen with the foot of the machine towards you, on a non-scratch pad. Remove 2 3/4″ Philips screws from the left and right of the foot:
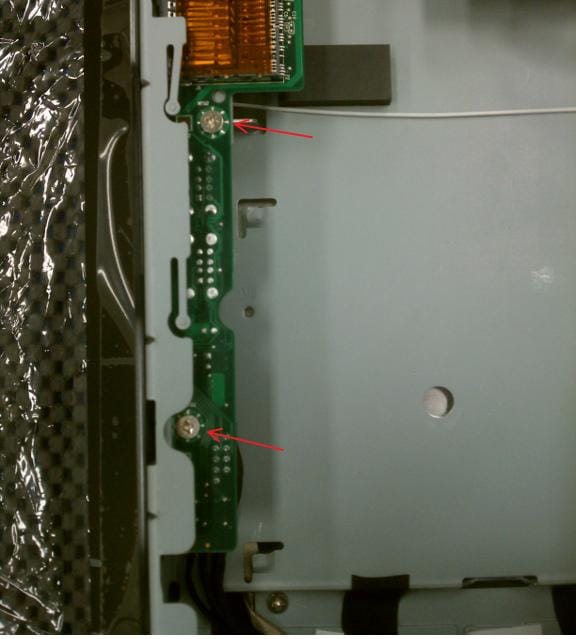
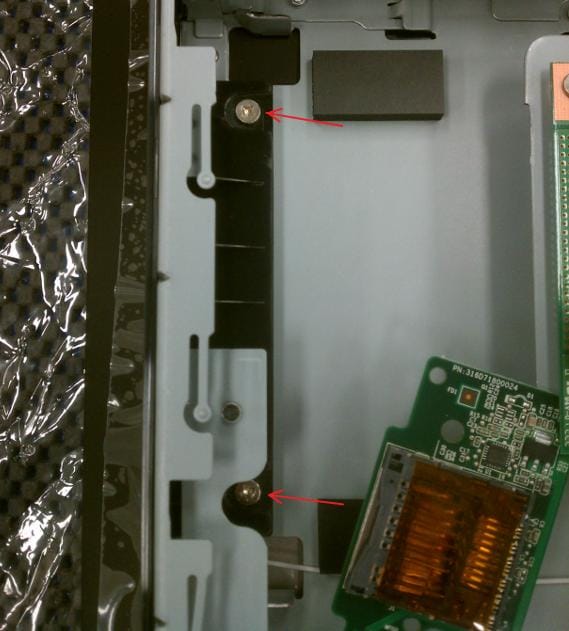
Next, remove the back panel of the AIO and place it on the non-scratch pad and remove the two Philips screws on the left holding the Media Reader daughter card in place:
After remove the two screws holding the Optical drive bezel in place:
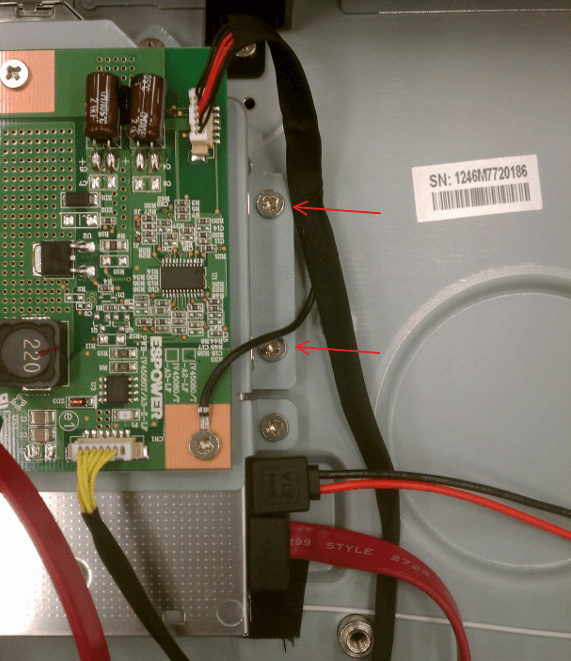
Make sure to screw the two screws holding the Media reader daughter card.
Once that has been finished, slide the optical drive into place so the sticker on it is facing down, or towards the table and screw it into place using the two Philips screws you removed from the Optical drive bezel cover.
Finally, if once you have that into place, make sure you have a SATA plugged into an open SATA port on the motherboard. Make sure your hard drive is plugged into SATA0. Feed the SATA cable through the bracket holding the bottom foot in place:
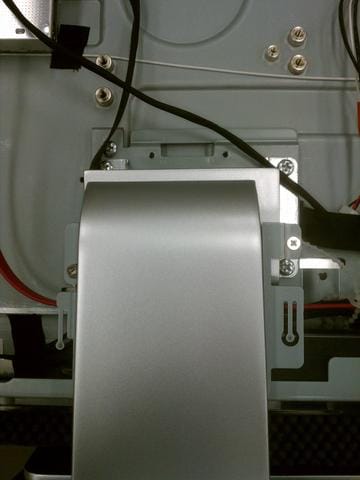
Once that has been completed, plug the SATA into your optical drive, and the SATA power into your optical drive as well.
*If you need, you can remove the heat sink fan, and the heat sink. Make sure to screw the 5 screws on it after you have placed them back in and the 3 holding the heat sink fan in place*
I have included my high res originals as a precaution: http://imgur.com/a/3X8ce