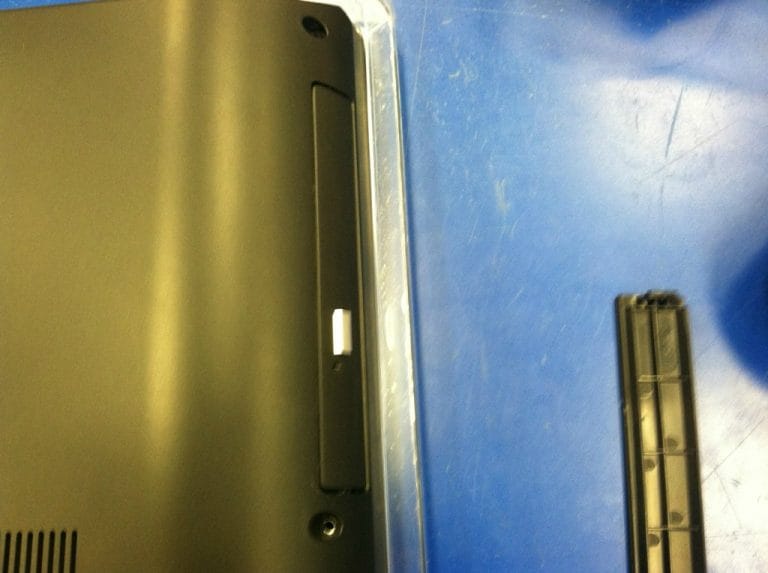
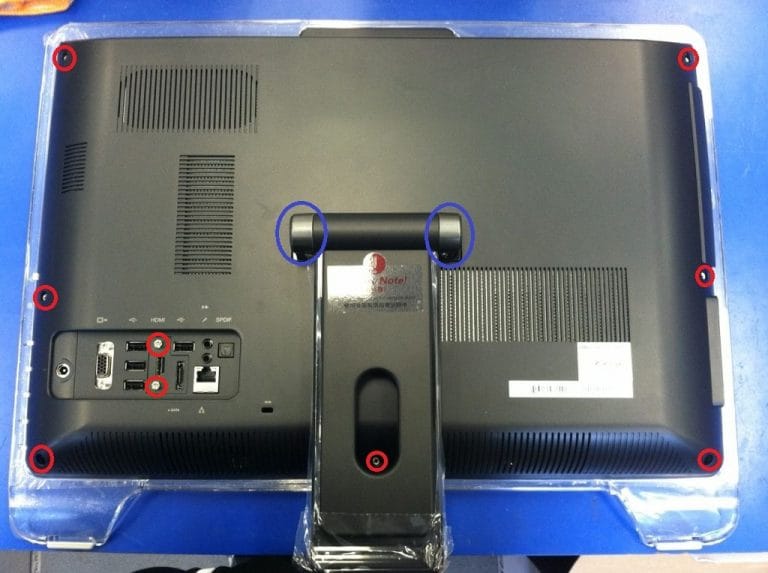
Remove the nine screws circled in red. Then remove the two caps circled in blue. There are two screws under each cap: remove all four screws and then remove the stand.
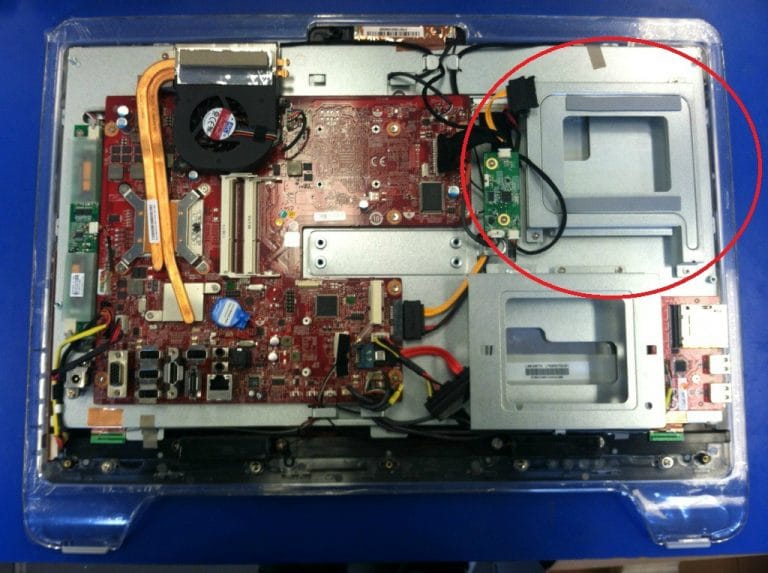
Once you’ve removed all of that, you can carefully remove the back cover. Circled in red is the ODD bay.
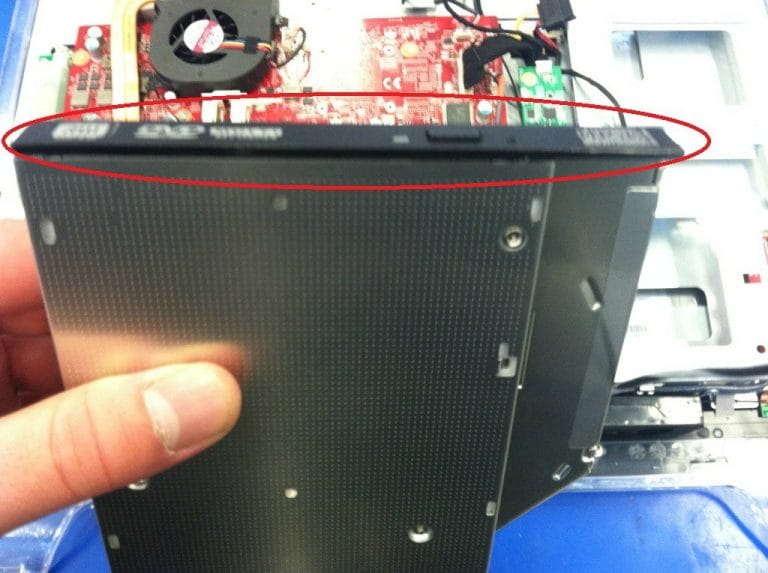
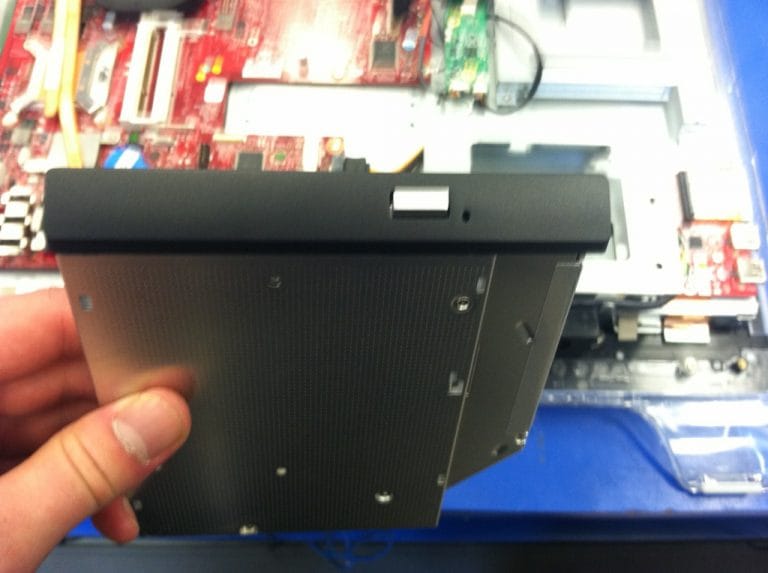
Get your ODD and carefully remove the plastic faceplate.
This is what your ODD should look like without the faceplate.

Your new faceplate is in the small box that came with your machine.
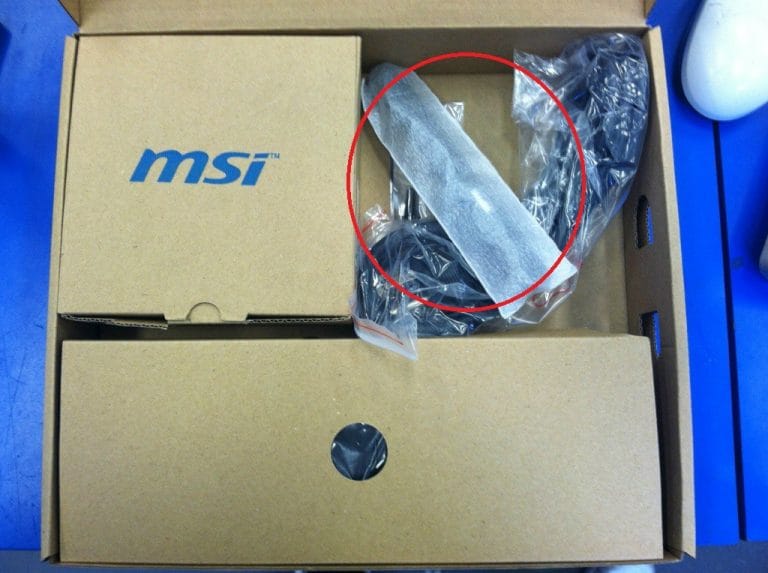
This is what your ODD should look like once you install the new faceplate.
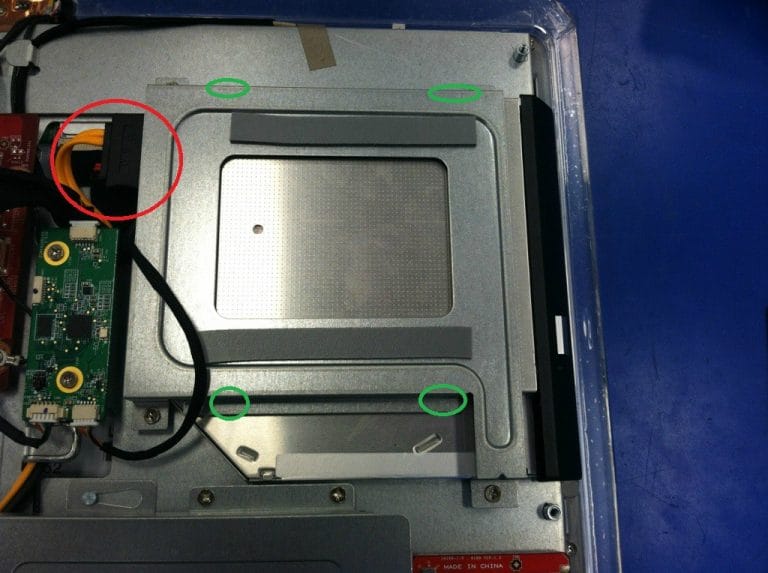
Slide the ODD into place and then insert screws in the four holes indicated in green on the sides of the ODD bay (the screws are in the small MSI box inside the box that the faceplate came in). Then connect the cable circled in red.
After the ODD is in place, carefully replace the back cover. This is what it should now look like.
