
The UEFI Flash BIOS update utility allows you to update the BIOS from the EFI Shell.
1. Download the UEFI Flash BIOS Update file (*.UEFI.zip). Example:
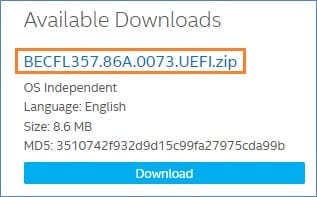
2. Double-click the *.UEFI.zip to extract its files.
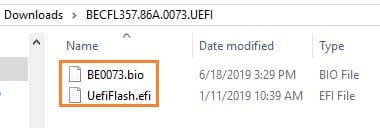
3. Copy UefiFlash.efi and the .bio file to the bootable USB device.
4. Connect the USB drive to a port on the Intel NUC.
5. Configure the BIOS of the target computer to boot to the EFI Shell:
- Press F2 during start to enter BIOS setup.
- Go to Advanced > Boot > Secure Boot.
- Disable Secure Boot, if enabled.
- Go to Advanced > Boot > Boot Configuration.
- In the Boot Devices pane, enable Internal UEFI Shell.
- Press F10 to save changes and exit BIOS Setup.
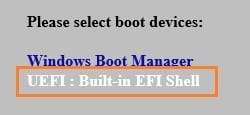
6. Press F10 during start to open the Boot Menu.
7. Select UEFI: Built-in EFI Shell.
8. Change the current directory to the USB flash drive by entering the command fsX: where X is the drive number of the USB flash drive from the device mapping list. Example: if your USB drive is fs3, then type fs3: and press Enter.
9. At the command prompt, type UefiFlash.efi XXX.bio, where XXX.bio is the filename of the .bio file and